
If you don’t have GTM on your website, I recommend adding it.
Since it’s an easy and free tool from Google, you can use it to create and manage tags for analytics, marketing, and tracking events without having to modify your website’s code directly.
👉 You can learn more and get started here: How to Add Google Tag Manager to your Website?
If you’ve already added GTM to your website, it’s time to create the first tag in your GTM container. I hope that my guide will be helpful.
Let’s go!
Table of contents
- Create Google analytics 4 tag in GTM
- Log in to GTM
- Create a New Google analytics 4 Tag
- Activate your Tag
Create Google analytics 4 tag in GTM
Log in to GTM
First I hope, that you have a google account, because we have to log in to google tag manager.
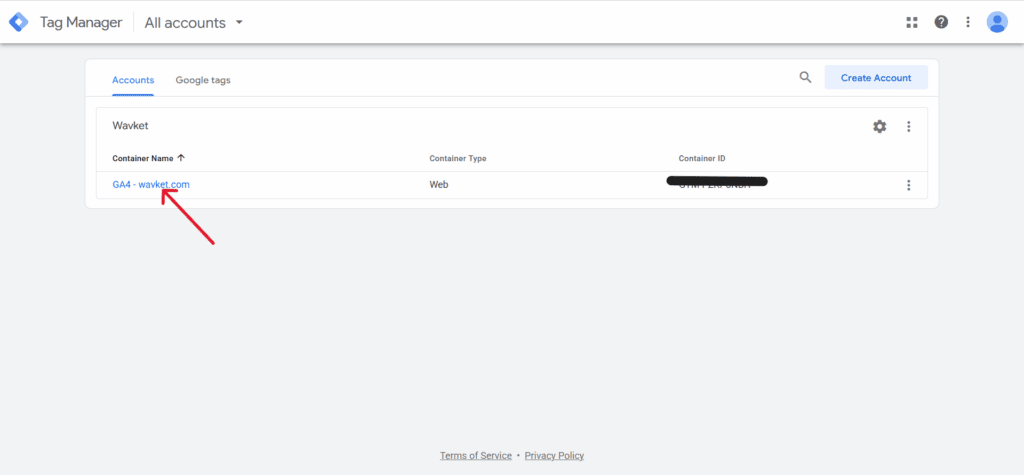
- Go to google tag manager in Google
- Select your GTM container for the website you want to work with.
Create a New Google analytics 4 Tag
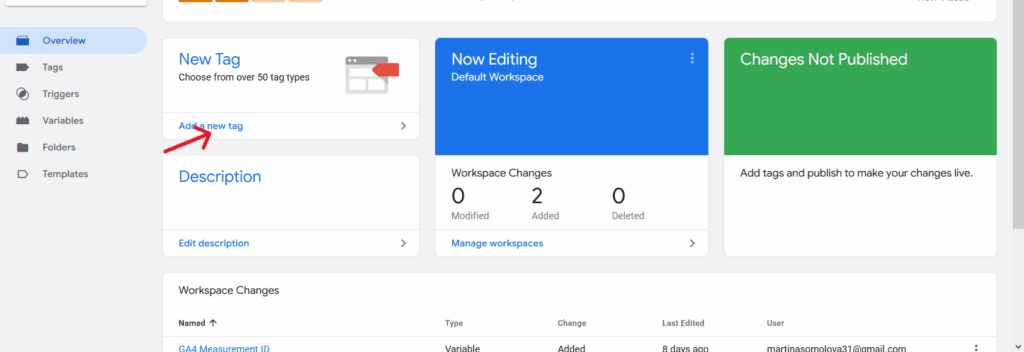
Now, we are going to create a new tag in GTM.
I recommend giving the tag a clear and easy-to-understand name, so that if someone else takes over your work, they can navigate it easily.
- Click add a new tag
- Let’s name it Google Tag | GA4 | Page View
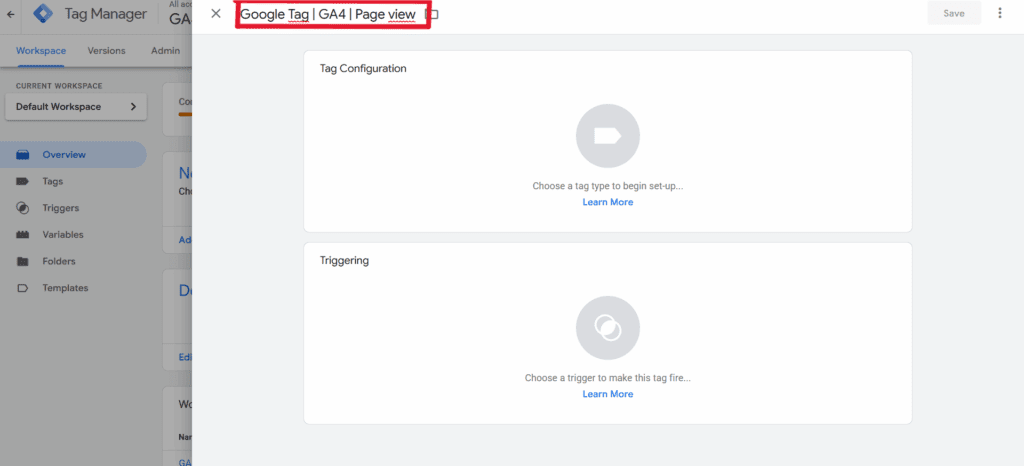
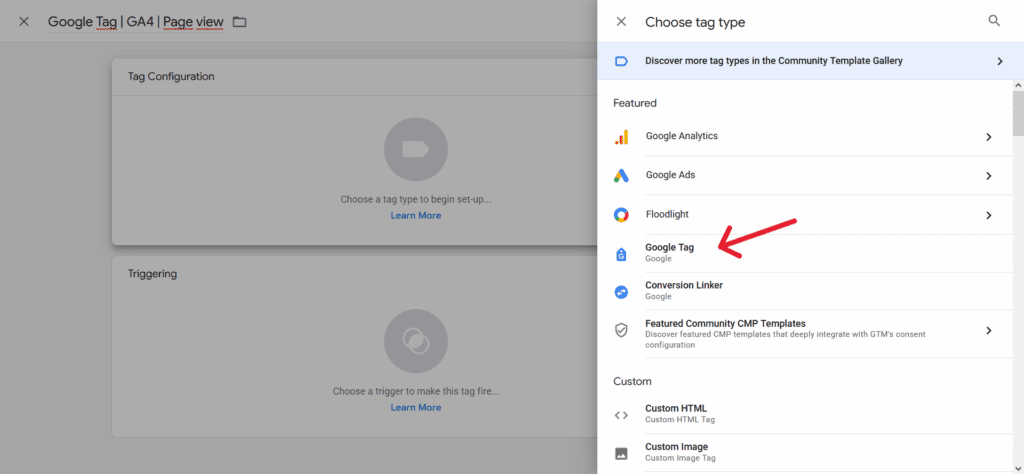
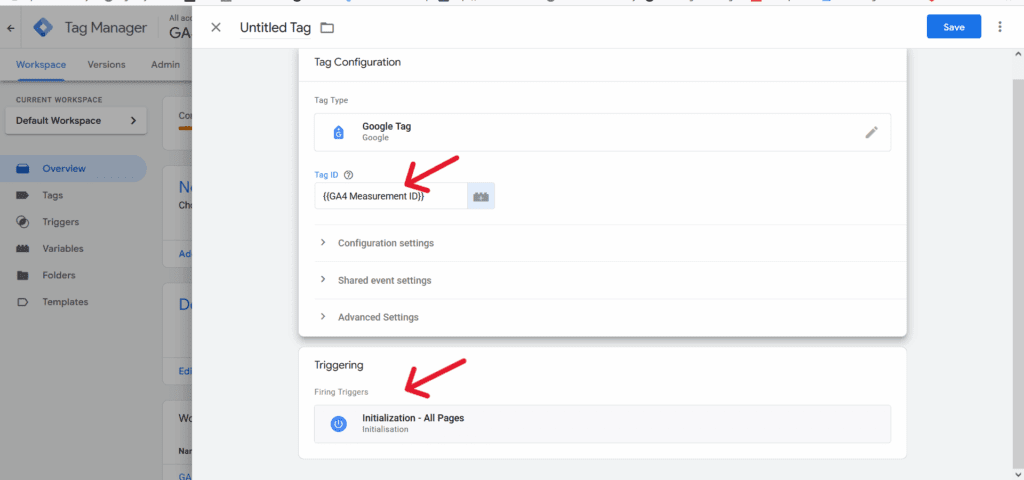
- Then, click on the Tag Configuration and choose the tag type: Google Tag
- In the Tag ID field, enter our Measurement ID from Google Analytics 4, which we can find in GA4 under Admin > Data Streams.
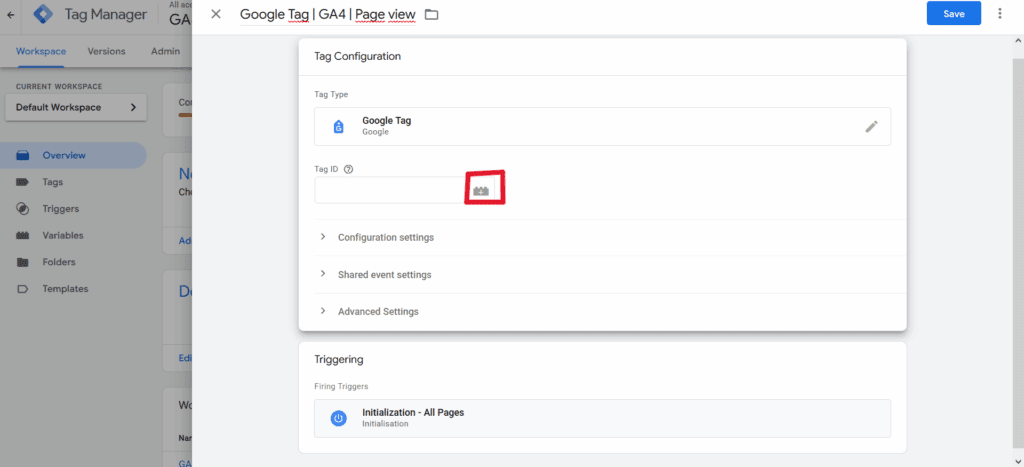
- While you can paste the Measurement ID directly into the Tag ID field, I don’t recommend doing that. Instead, if you create a variable for the Measurement ID, you can then reuse it across multiple tags. This way, if you ever need to change the ID, you only have to update it in one place.
- Let’s click on the variable icon now.
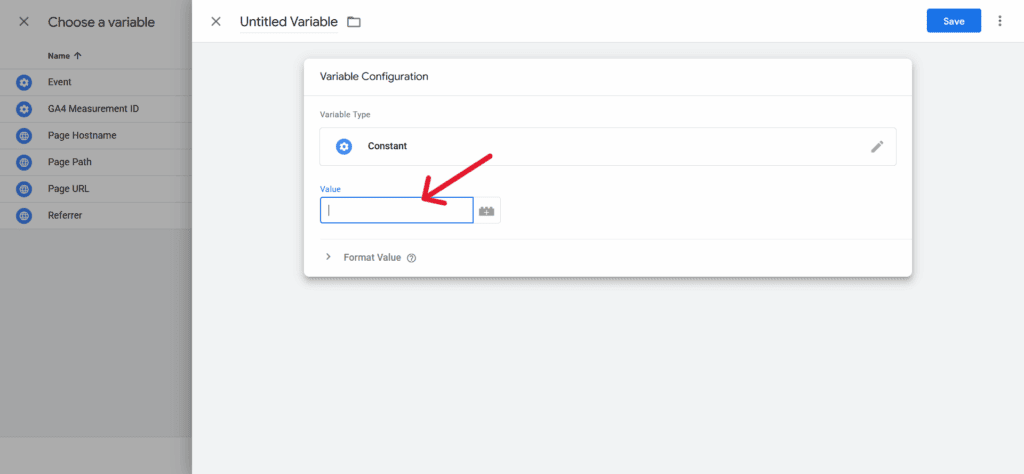
- First, I hope you’re ready to follow along. Next, let’s click on the plus sign in the top right corner.
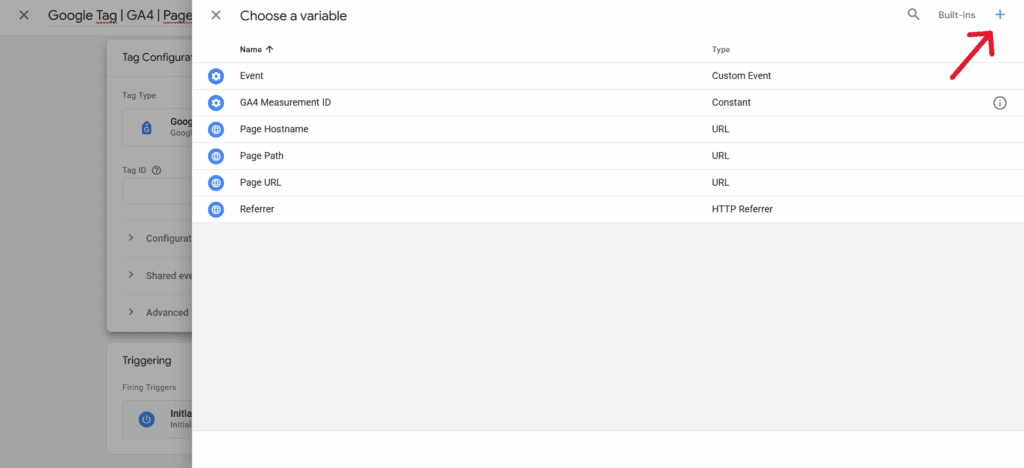
- Then, I recommend creating the variable name: GA4 Measurement ID.
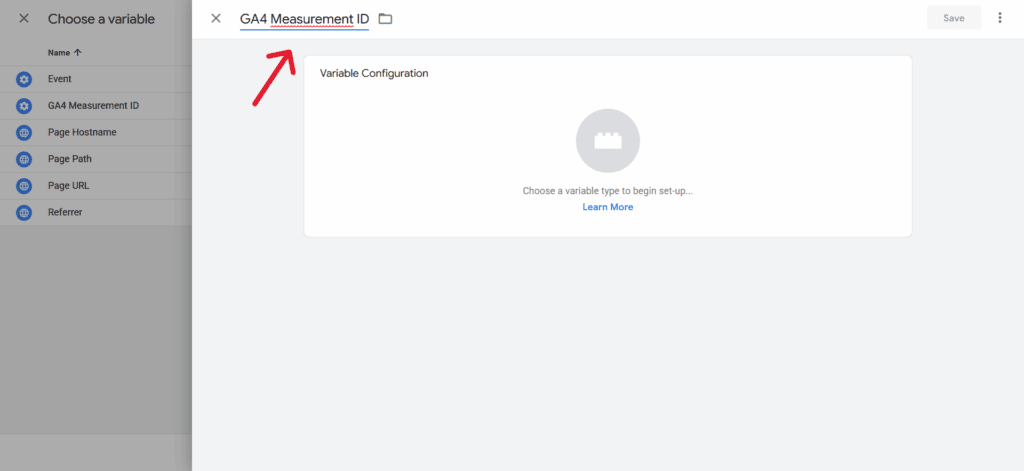
- After that, select Variable Configuration → Constant.
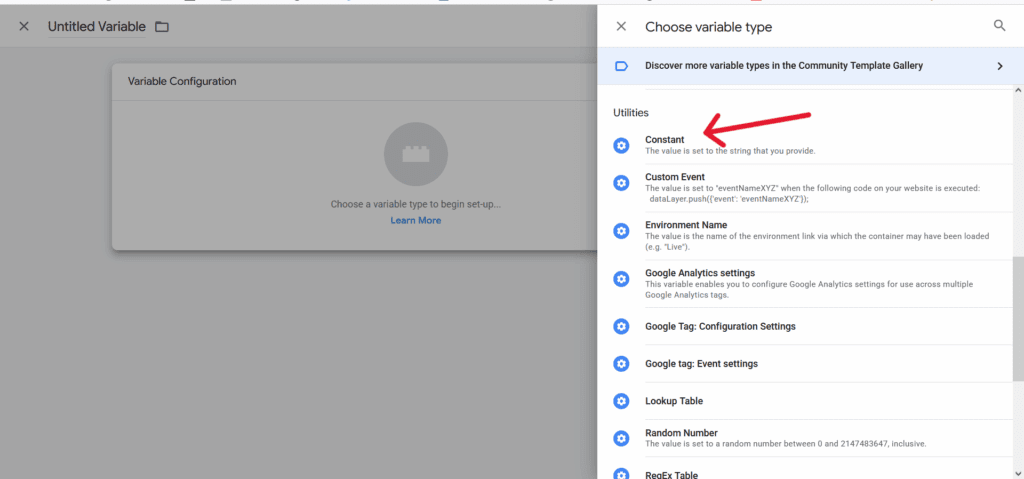
- Finally, I advise you to paste our Measurement ID as the value and save your changes.
- Now, below the Tag Configuration, we can see Triggering and the Initialization set to All Pages. This means we will track all the pages people visit on our website.
- Let’s save the tag.
Activate your Tag
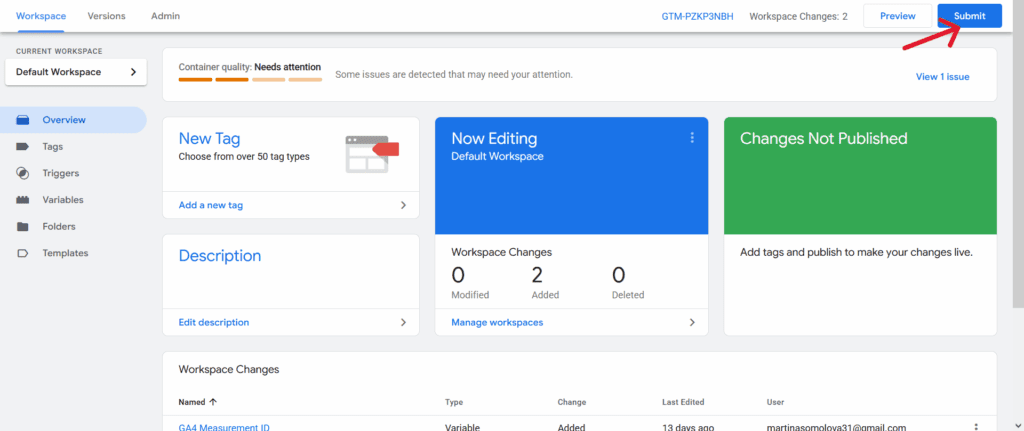
Once you’ve saved your tag, don’t forget to activate it immediately.
- Click the blue “Submit” button. Your tag won’t work until you do so.
- You’ll be taken to this “Submission Configuration” page.
- You can choose from two options: “Publish and create a version” or “Create a version.”
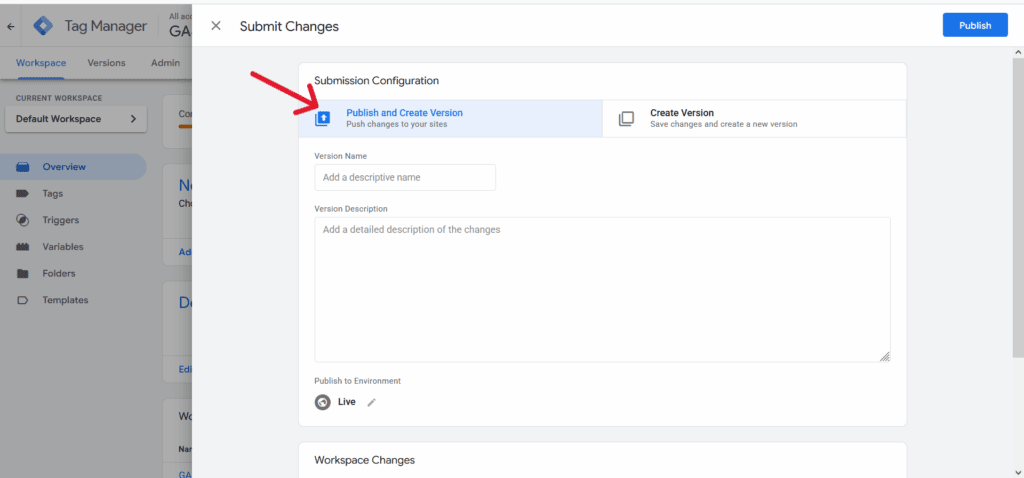
- Since I was ready to add the tag to all my pages, I first selected ‘Publish and create a version’, and then clicked the blue ‘Publish’ button in the top right corner.
- Finally, you’ll be shown this “Container Version Description”. To keep your tags organized, I recommend adding a name and description, so you can easily understand what you’re trying to track with each tag.
I hope my guide was helpful. In the upcoming articles, we’ll cover other tags such as LinkedIn, Facebook, and more. I advise you to practice regularly and focus on practical exercises to get the most out of these tutorials.
Thanks for reading!
Want more practical analytics tips?
Subscribe to the newsletter and get insights straight to your inbox.