Your website may be frequently visited by employees, developers, testers, or other internal users—people who aren’t actual customers.
If you don’t account for their visits, your analytics data can become inaccurate and misleading. That’s why it’s important to filter out internal traffic in Google Analytics 4 (GA4).
This guide will show you how to set up internal traffic rules and data filters in GA4 to ensure that only real customer behavior is measured.
First, we’ll show you how to define internal traffic using IP address-based rules.
Then, we’ll focus on setting up filters to completely exclude this traffic from your analytics data.
The steps are simple, but essential for achieving accurate results.
Table of Contents
- Before You Begin with Blocking Traffic in GA4
- Step-by-Step: How to Exclude Internal Traffic in GA4
- Sign in to your GA4 account
- Identify Internal Traffic
- Create a Data Filter
Before You Begin with Blocking Traffic in GA4
To define internal traffic and manage data filters in GA4, you must first have the Editor role on the Google Analytics property.
Once you have this access, you can then proceed with configuring the internal traffic rules and data filters. In the next steps, we will guide you through the process of setting everything up efficiently.
It’s important to note that the Editor role is required because only users with the necessary permissions can make these changes.
Step-by-Step: How to Exclude Internal Traffic in GA4
1. Sign in to your GA4 account
- Go to Google Analytics
- Select the GA4 property you want to configure
2. Identify Internal Traffic
You’ll now define what qualifies as internal traffic (e.g. based on IP addresses):
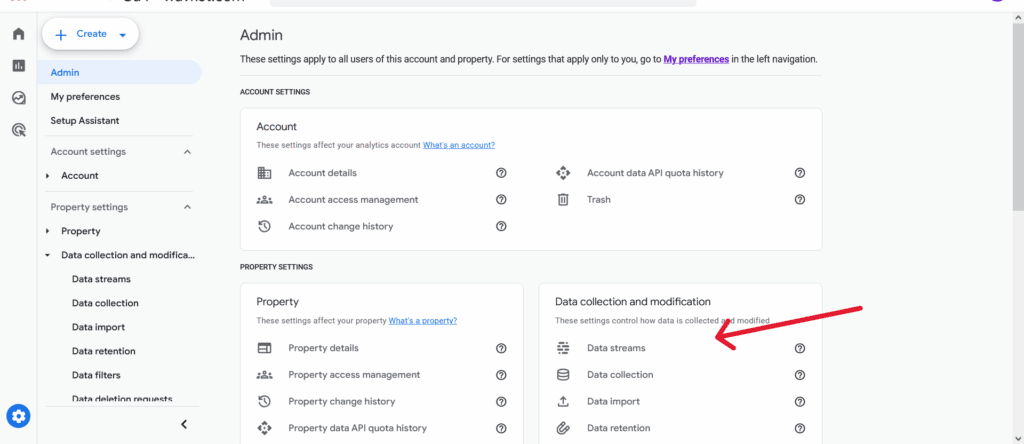
- Click Admin in the bottom-left corner

- Under Data collection and modification, click Data Streams
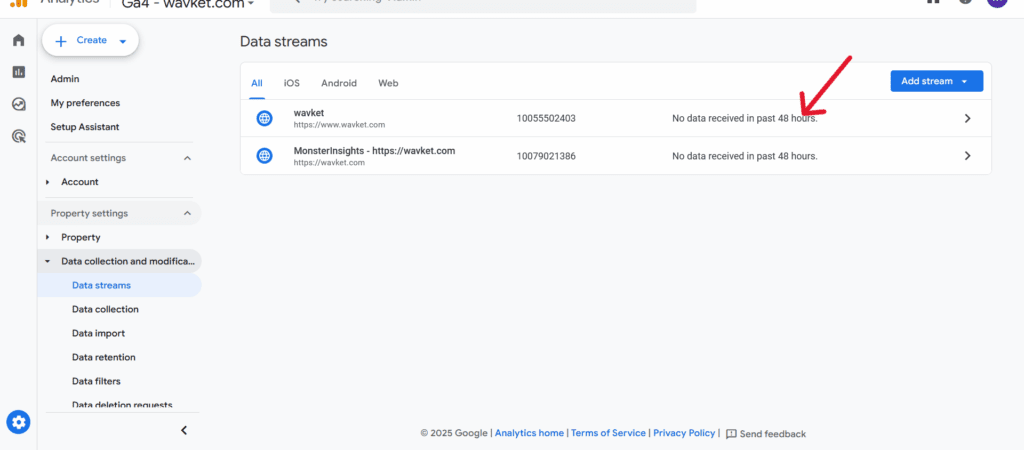
- Select your Web Data Stream
- Scroll down and click Configure tag settings
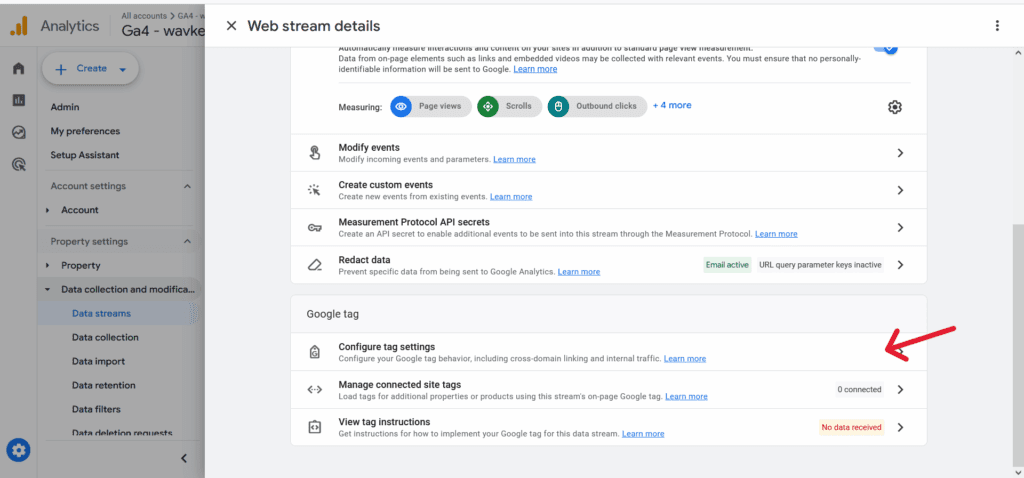
- Click Show more to expand advanced settings
- Click Define internal traffic
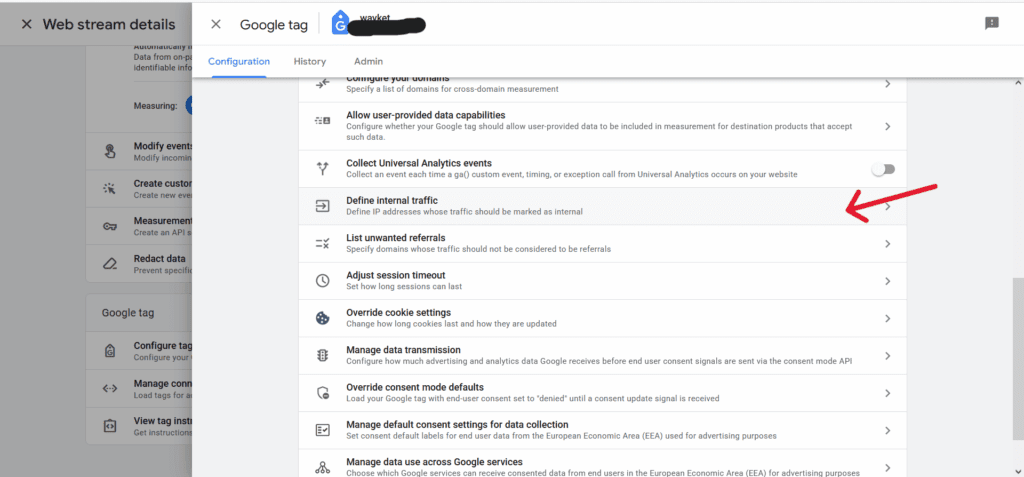
- Click Create

Now fill in the rule details:
- Name your rule – e.g. “Office IPs” or “Internal Team”
- Traffic_type parameter – enter a label, e.g. internal
- In the IP address section:
- Under Match type, select how you want to match the IP (e.g. equals, begins with, in range, or CIDR notation)
- Under Value, enter the IP address or IP range you want to exclude
- Click Create

3. Create a Data Filter
Now that you’ve defined internal traffic, you need to create a filter to exclude it:
- Go back to Admin
- Under Property, click Data Settings > Data Filters

- Click Create data filter

- Set the following options:
- Filter name – e.g. “Internal Traffic”
- Filter type – choose Internal traffic
- Filter operation – select Exclude
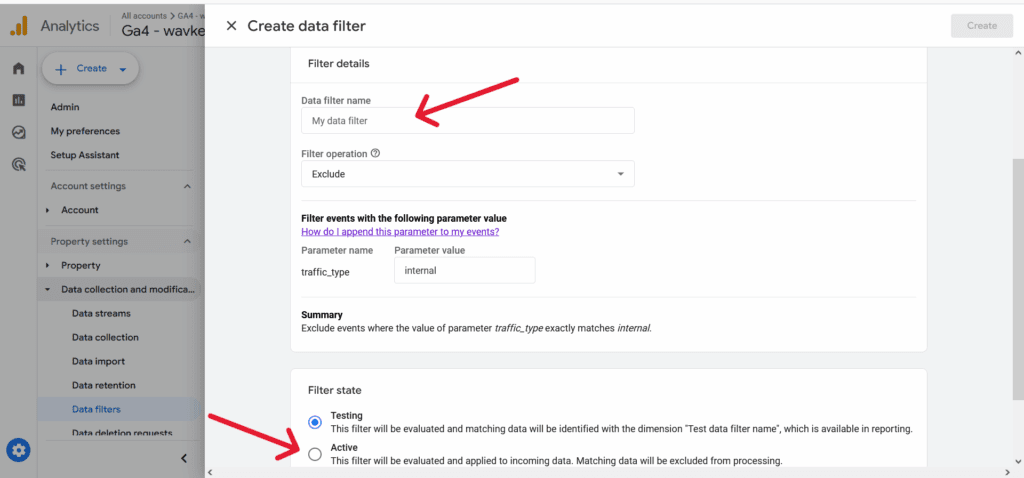
- Filter state – choose one:
- Testing – to test the filter without affecting data
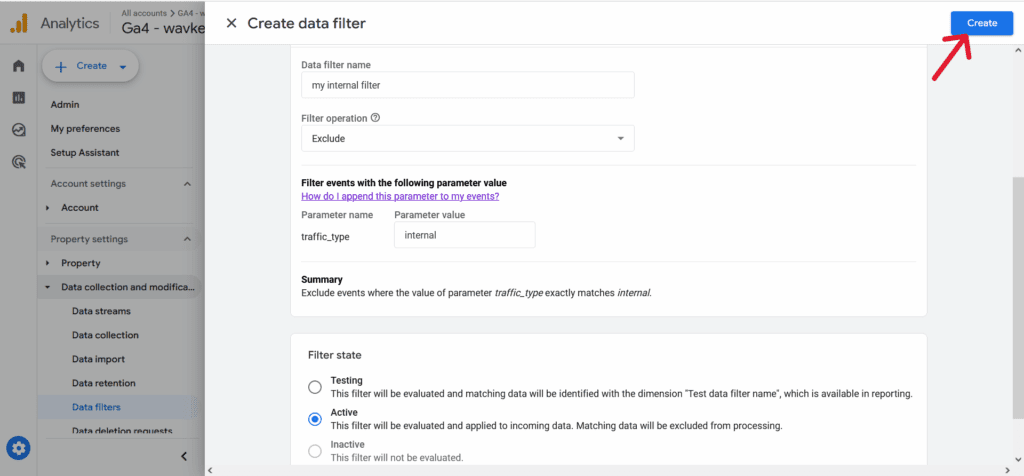
- Active – to immediately apply it
- Inactive – to save it for later
- Click Create
✅ Done! What Happens Next?
Once the filter is active, GA4 will automatically exclude visits from any IP addresses you’ve defined under internal traffic.
However, before enabling it fully, it’s recommended to start with the „Testing“ state.
This way, you can verify that everything works correctly and ensure that no valid data is accidentally excluded.
After confirming that the setup is correct, you can safely activate the filter for ongoing use.
Thanks for reading!
Want more practical analytics tips?
Subscribe to the newsletter and get insights straight to your inbox.